 King County
 Why Issaquah Homes Are Hard on Siding
Issaquah sits where the Puget Sound lowlands meet the foothills of Tiger Mountain and Squak Mountain, and that location creates a specific set of problems for exterior siding. Homes here are often tucked under mature fir and cedar canopy, which keeps north- and east-facing walls shaded and damp long after the rain has stopped. Add in the marine-influenced air moving up from Puget Sound and King County's long, wet fall-through-spring stretch, and you get siding that rarely gets a chance to fully dry out between storms.
That combination — driving rain, persistent shade, and a moss season that can run eight months or longer in a wet year — is exactly the environment that exposes weak siding systems. Products that rely on paint film alone, or that swell and wick moisture at the seams, start showing problems in Issaquah years before they would in a drier inland climate. This is a page about doing one job right: installing James Hardie fiber cement siding correctly on an Issaquah home, built for the conditions this specific area actually sees.
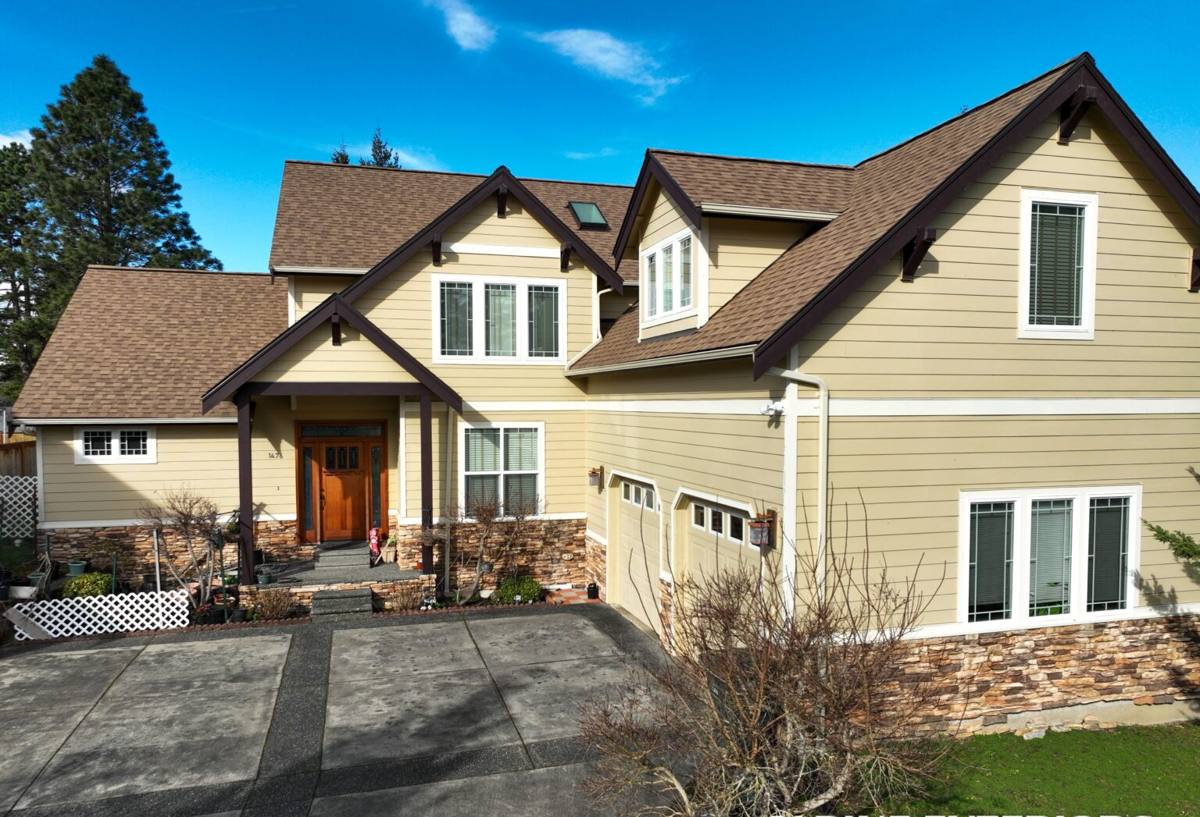
What Issaquah's Climate Actually Demands From Siding
Moisture that lingers, not just moisture that falls
Plenty of siding materials are rated to shed rain. Fewer are built to handle rain that sits against the wall for days because tree cover and hillside shade slow evaporation. Siding on shaded Issaquah lots needs to resist moisture absorption at the material level, not just rely on a coating to keep water out.
Moss, mildew, and algae growth
Wherever shade and moisture overlap, organic growth follows. Moss and algae don't just look bad — on the wrong siding material they can hold moisture against the surface and accelerate wear underneath. A siding system needs a factory finish that resists staining and holds up to periodic washing without degrading.
Temperature swings and wind-driven rain
Issaquah gets less wind-driven rain than exposed waterfront areas, but storms funneling through the valley still push moisture sideways into wall assemblies, especially on two-story homes and gable ends. Flashing details and joint treatment matter as much as the siding product itself.
Why We Install Only James Hardie Fiber Cement
We made a deliberate decision as a company to install one siding system: James Hardie fiber cement. We don't install vinyl, LP SmartSide, Cemplank, Allura, or unprimed cedar or spruce products, and we're upfront with homeowners about why. Each of those products has legitimate strengths, but each also carries a trade-off — moisture sensitivity at cut edges, coating maintenance, impact vulnerability, or a shorter practical service life in a wet Western Washington climate — that we're not willing to put our name behind.
Fiber cement is cement, sand, and cellulose fiber, non-combustible and dimensionally stable. It doesn't expand and contract with moisture the way wood-based products do, and it doesn't become brittle in cold snaps the way vinyl can. James Hardie's HZ5 product line is engineered specifically for climates like King County's, with moisture and freeze-thaw performance tuned for the Pacific Northwest rather than a national average. That's a meaningful distinction for a home that spends a good part of the year damp.
The ColorPlus finish advantage
Most of what fails on siding in a climate like Issaquah's is the finish, not the substrate. James Hardie's ColorPlus finish is baked on in a controlled factory environment in multiple coats, which gives it better fade and moisture resistance than field-applied paint. That matters directly here: a finish that resists staining and holds color longer means fewer repaints and less chance of moisture finding its way in through a compromised coating.
What a Correct Fiber Cement Installation Involves
Fiber cement siding is only as good as the installation behind it. A huge share of the problems we see on other people's Hardie jobs come down to installation shortcuts, not the material. In a climate that gives water every opportunity to find a way in, these details are not optional:
- A drainage plane (weather-resistant barrier) installed continuously behind the siding, with all seams properly lapped and taped
- A rainscreen gap or furring where conditions call for it, so any moisture that gets behind the siding can drain and the wall can breathe
- Correct fastener placement and spacing per the manufacturer's installation manual — not "close enough"
- Proper clearance between siding and grade, decks, and roof lines so water doesn't wick up from below
- Flashing above every window, door, and horizontal trim piece, integrated with the drainage plane rather than just caulked over the top
- Factory-cut and factory-primed edges kept intact wherever possible, with field cuts sealed per Hardie specifications
- Correct nail penetration depth — overdriven fasteners crack the board and create a moisture entry point that isn't visible until years later
Skip any one of these and you can end up with siding that looks fine from the curb but is trapping moisture behind it. In a shaded, damp environment that problem compounds instead of drying out on its own.
Our Process on an Issaquah Home
1. Site and wall assessment
We start by walking the exterior and looking at the specific exposure of each wall — which sides get shade and moss, where water tends to collect, and where the existing siding or trim shows signs of past moisture problems. This shapes decisions like where a rainscreen gap is worth the extra step and where flashing needs upgrading, not just replacing.
2. Tear-off and substrate check
Once old siding comes off, we check the sheathing and framing underneath for rot or existing moisture damage before anything new goes up. Covering a wet wall with new siding just hides the problem.
3. Weather barrier and flashing
We install the drainage plane and flashing system first, treating this as the layer that actually keeps the house dry — the siding itself is the second line of defense, not the only one.
4. Hardie installation to spec
Boards, panels, and trim go up following James Hardie's published installation requirements for our climate zone, with attention to fastening, joint treatment, and clearances.
5. Final inspection and walkthrough
We walk the finished exterior with the homeowner, checking caulk lines, trim details, and touch-up paint on any field-cut edges before calling the job done.
Cost Factors for a Fiber Cement Project in Issaquah
| Factor | Why It Matters Here |
|---|---|
| Home size and wall complexity | More corners, dormers, and gables mean more cuts, trim, and flashing detail work |
| Existing wall condition | Shaded, damp lots sometimes reveal sheathing repairs once old siding comes off |
| Siding profile | Lap siding, shingle-style panels, and vertical panel systems carry different material and labor costs |
| Trim and accessory scope | Corner boards, window trim, and fascia in ColorPlus finish add cost but reduce future maintenance |
| Access and site conditions | Sloped lots and tree-crowded yards common around Issaquah can affect staging and scaffolding time |
| Color and finish selection | Standard ColorPlus colors are typically more cost-effective than custom-matched finishes |
We provide a written, itemized estimate so you can see exactly what's driving the number — not a single lump figure.
Maintaining Fiber Cement Through Issaquah's Moss Season
Fiber cement with a factory finish is low-maintenance, not no-maintenance. In a climate that grows moss on roofs, decks, and siding alike, a periodic soft wash — never a high-pressure blast that can drive water behind trim or damage the finish — keeps organic growth from taking hold. Keeping gutters clear and trimming back vegetation that shades and dampens a wall year-round also goes a long way toward keeping moss pressure down in the first place. Beyond that, an occasional check of caulk joints around windows and trim is the main upkeep item, since caulk has a shorter service life than the siding itself.
Why Local Experience on This Product Matters
Installing fiber cement correctly in a marine climate is a different job than installing it in a dry inland region, even though it's the same product. A crew that regularly works King County homes already knows where Issaquah's shaded, tree-covered lots tend to hold moisture, how local building department expectations run for flashing and drainage details, and what finish and color choices actually hold up under this much rain and shade. That experience shows up in the details — the ones you can't see from the driveway but that determine whether the siding is still performing in fifteen years.
What to Ask Before You Hire a Siding Contractor
- Are you a certified James Hardie installer, and can you explain your flashing and drainage plane approach in detail?
- Will my estimate include a rainscreen gap where wall conditions call for one?
- What happens if you find rot or moisture damage once the old siding is off?
- Can you show me the specific fastening and clearance requirements you follow?
- Is the warranty from the manufacturer transferable if I sell the home?
- Do you have local references from other King County or Issaquah-area projects?
A contractor who can answer these clearly, without vague reassurances, is one worth trusting with a job that has to perform through a lot of wet Northwest weather.
If your Issaquah home's siding is showing moss staining, peeling paint, or soft spots near trim, we're happy to take a look and walk you through what correct fiber cement replacement would involve for your specific walls. Reach out for a free, no-pressure estimate using the form below.