 King County
 Why Renton Siding Takes a Beating
Renton sits in one of the wetter corners of a wet region. Homes here deal with a long, low-grade soaking season that runs most of the year, driving rain that comes in sideways off the Sound during winter storms, and a moss season that can stretch from fall through spring on any wall or roofline that doesn't get much sun. Add in the salt-tinged marine air that moves through King County off Puget Sound, and you have a slow, steady set of conditions working against every seam, nail hole, and joint in a home's siding. None of this is dramatic on its own. It's the accumulation over years that causes problems.
Siding repair, done right, is about catching that accumulation before it becomes a bigger job. A small patch of soft trim or a hairline crack that lets water behind the wall doesn't look urgent. Left alone through another Renton winter, it usually is.
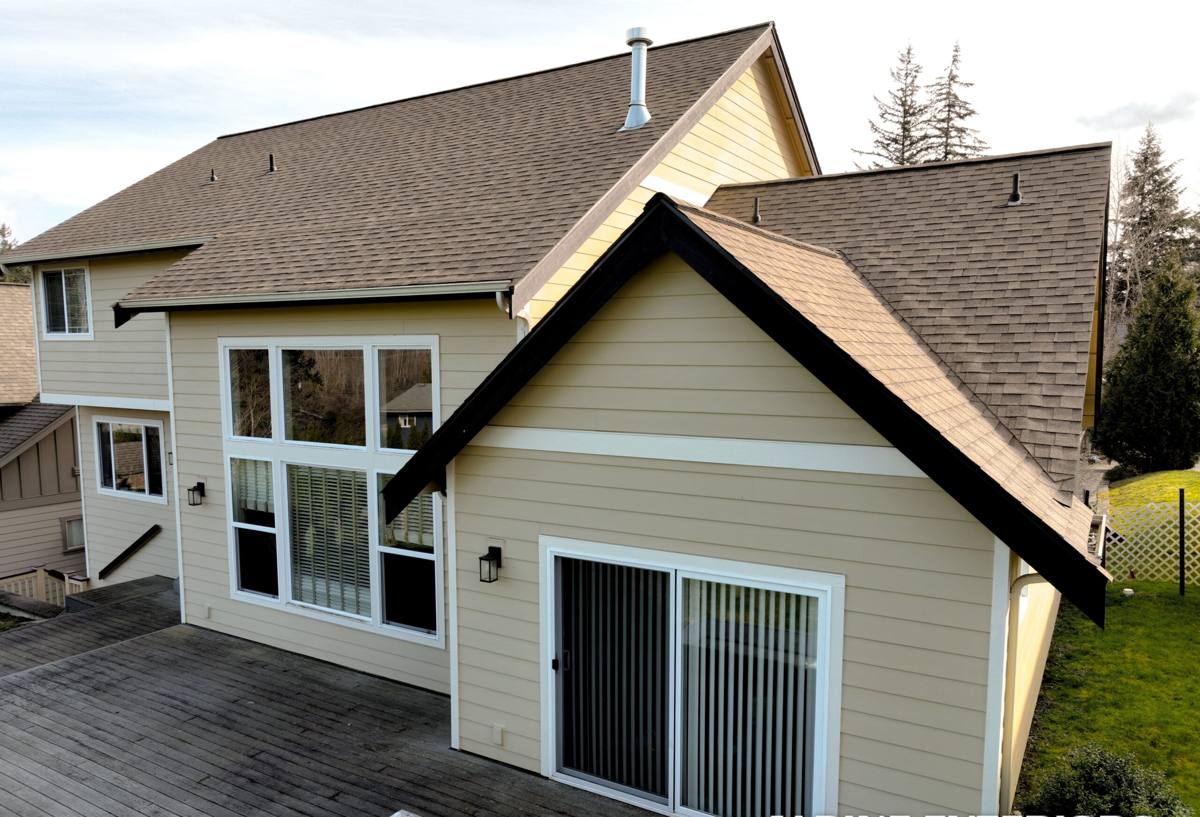
Common Siding Repair Issues We See in Renton Homes
Moisture Intrusion and Hidden Rot
The most common repair call isn't about how the siding looks — it's about what's happening behind it. Water finds a way in through a cracked panel, a gap at a window or door trim, or a failed seal where siding meets a deck or roofline, then travels behind the cladding rather than running off the surface. By the time a soft spot or dark stain shows up on the outside, the sheathing or framing underneath may already be affected. This is the repair category we take most seriously, because the visible damage is almost always smaller than the hidden damage.
Cracked, Warped, or Buckled Panels
Older wood-based siding products in particular are prone to swelling, cupping, and cracking as they take on moisture and dry out repeatedly through the wet season. Impact damage — from a fallen branch, a ladder, or routine yard work — is also a common repair trigger, and a single cracked panel left unaddressed becomes an entry point for the moisture problems described above.
Moss, Algae, and Mildew Staining
Shaded, north-facing walls and areas under overhangs or tree cover are where we see the heaviest moss and algae growth. Staining itself is often cosmetic, but moss holds moisture against the siding surface for extended periods, which shortens the life of caulking, paint, and the material underneath — especially on siding that wasn't built to handle sustained dampness.
Failed Caulking and Trim Gaps
Caulk is a maintenance item, not a permanent fix, and it fails on its own schedule regardless of the condition of the siding itself. Gaps around trim, window and door casings, and utility penetrations are one of the most preventable causes of water intrusion, and one of the quickest things a repair visit can catch before it turns into a rot problem.
Repair or Replace? How to Tell the Difference
Not every damaged section needs a full re-side, and not every home with siding problems can be fixed with a patch. The honest answer depends on how far the damage has spread and what condition the material is in overall.
| What You're Seeing | What It Usually Means | Likely Path |
|---|---|---|
| One or two cracked or impact-damaged panels, rest of the siding sound | Isolated, mechanical damage | Targeted repair |
| Soft or spongy siding in multiple, unrelated areas | Material reaching end of life or widespread moisture history | Full or partial replacement |
| Consistent moss and staining across most north-facing walls | Environmental exposure, often cosmetic | Cleaning and maintenance, monitor |
| Rot found behind siding at one wall section during inspection | Localized water intrusion | Repair with sheathing check |
| Original siding is 25+ years old with recurring repair calls | Material fatigue, diminishing returns on patching | Replacement discussion warranted |
We'll always tell you plainly which column your home falls into. A repair that's genuinely a repair should be priced and treated like one — there's no reason to sell a homeowner a full re-side when a section of properly matched siding solves the problem.
What a Correct Siding Repair Actually Involves
A siding repair is only as good as the work that happens behind the visible surface. Cutting out a damaged panel and nailing up a replacement, without checking what caused the damage, just resets the clock on the same failure.
- Remove the damaged section and inspect the sheathing, house wrap, and flashing underneath for moisture, rot, or gaps.
- Identify and correct the actual water path — a failed flashing detail, a caulk gap, or a drainage issue — not just the symptom.
- Replace any compromised sheathing or framing before new siding goes back on; patching over hidden damage is how small problems become expensive ones.
- Install replacement material that matches the existing siding in profile, exposure, and finish as closely as possible.
- Re-flash and seal all penetrations, trim, and transitions correctly, rather than relying on caulk alone to do the job.
- Clean up the surrounding area and confirm the repair blends with the surrounding wall.
Skipping the inspection step is the single most common shortcut in siding repair, and it's the reason some homeowners end up paying for the same repair twice.
Why We Repair With James Hardie Fiber Cement
We only install James Hardie fiber cement siding, and that standard carries through to repair work. When we're patching into an existing Hardie wall, matching material, thickness, and factory finish is straightforward because Hardie's ColorPlus finish is manufactured to a consistent standard. When we're asked to repair a home sided in wood, vinyl, or another fiber cement brand, we'll do honest work, but we're upfront that long-term durability and moisture performance in this climate are part of why we don't sell or install those alternatives ourselves.
Fiber cement doesn't absorb water the way wood-based products can, and it doesn't warp or buckle with the seasonal wet-dry cycles that are routine in this part of King County. That matters as much for a repair as it does for a full installation — there's little point in doing careful, correct repair work behind the wall if the replacement material itself is prone to the same problems that caused the original damage.
Our Renton Siding Repair Process
We keep the process straightforward because homeowners dealing with a siding problem usually want a clear answer, not a sales pitch.
1. On-Site Assessment
We look at the damaged area and the surrounding siding, check for signs of moisture behind the wall where accessible, and get a full picture of whether this is a repair or a bigger conversation.
2. Straight Answer and Written Estimate
You get a plain explanation of what we found, what's causing it, and what it will take to fix — along with a written estimate before any work starts.
3. The Repair Itself
We remove and replace only what needs it, address the underlying moisture path, and match new material into the existing wall as closely as the original product allows.
4. Cleanup and Walkthrough
We clear debris, and walk the repair with you so you can see exactly what was done and why.
Why Hiring a Crew That Already Works in Renton Matters
Siding repair looks different depending on the housing stock, the exposure, and the local weather patterns a crew is used to working around. A crew that regularly works in Renton and the surrounding King County area already knows what the wet season does to different siding types and wall orientations, understands common local building and permitting expectations, and can schedule around the rain windows that define much of the year here rather than treating them as a surprise.
There's also a practical side to it: a company with an established local presence is easier to reach if a repair needs a follow-up visit, and has a reputation in the area worth protecting with solid work — not just a one-time job before moving on to the next city.
Signs Your Renton Home Needs Siding Repair Now
- Soft, spongy, or bouncy spots when you press on the siding
- Visible cracking, splitting, or warping in one or more panels
- Peeling or bubbling paint that keeps returning after repainting
- Dark staining, streaking, or heavy moss growth on shaded walls
- Gaps or missing caulk around windows, doors, or trim
- A musty smell or visible staining on interior walls near an exterior wall
- Siding that has pulled away from the wall or shows nail-hole enlargement
- Recurring maintenance on the same section, year after year
What Affects the Cost of a Siding Repair
Repair costs vary enough from job to job that a single number isn't useful — but the factors that drive the price are consistent.
| Factor | Why It Matters |
|---|---|
| Extent of hidden damage | Sheathing or framing repair adds labor and material beyond the visible siding itself |
| Access and wall height | Second-story or hard-to-reach sections require additional equipment and time |
| Material match | Matching an existing color and profile is simpler with Hardie's consistent factory finish than with weathered or discontinued products |
| Number and location of affected areas | Several small repairs across a home cost differently than one concentrated section |
| Root cause complexity | A simple caulk failure is a quick fix; a drainage or flashing issue takes more diagnostic work to correct properly |
We price repairs based on what a home actually needs, and we'll always explain the reasoning behind an estimate rather than handing over a number with no context.
If you're seeing signs of siding damage on a Renton home, or just want an honest read on whether it's a repair or something bigger, we're happy to take a look. Use the form below to request a free, no-pressure estimate.