 King County
 Siding Repair Built Around Capitol Hill's Climate
Capitol Hill sits inside one of the wettest, dampest corners of King County, and its siding takes the consequences year-round. Long stretches of driving rain push moisture sideways into seams and trim joints that never see direct sun for weeks at a time. Between storms, the marine air common to the Puget Sound region keeps humidity high, which is exactly the condition moss and mildew need to take hold on north-facing walls, under eaves, and anywhere airflow is limited by a neighboring structure. A siding repair here isn't just a cosmetic patch — it's a chance to find and stop water before it works its way into the wall assembly.
What makes repair work in this neighborhood different from a generic siding fix is density and age. Lots are tighter, homes sit closer together, and a long moss season means problems that start small often go unnoticed until they've spread across an entire elevation. Repairing siding correctly here means understanding both the climate and the housing stock it's acting on.
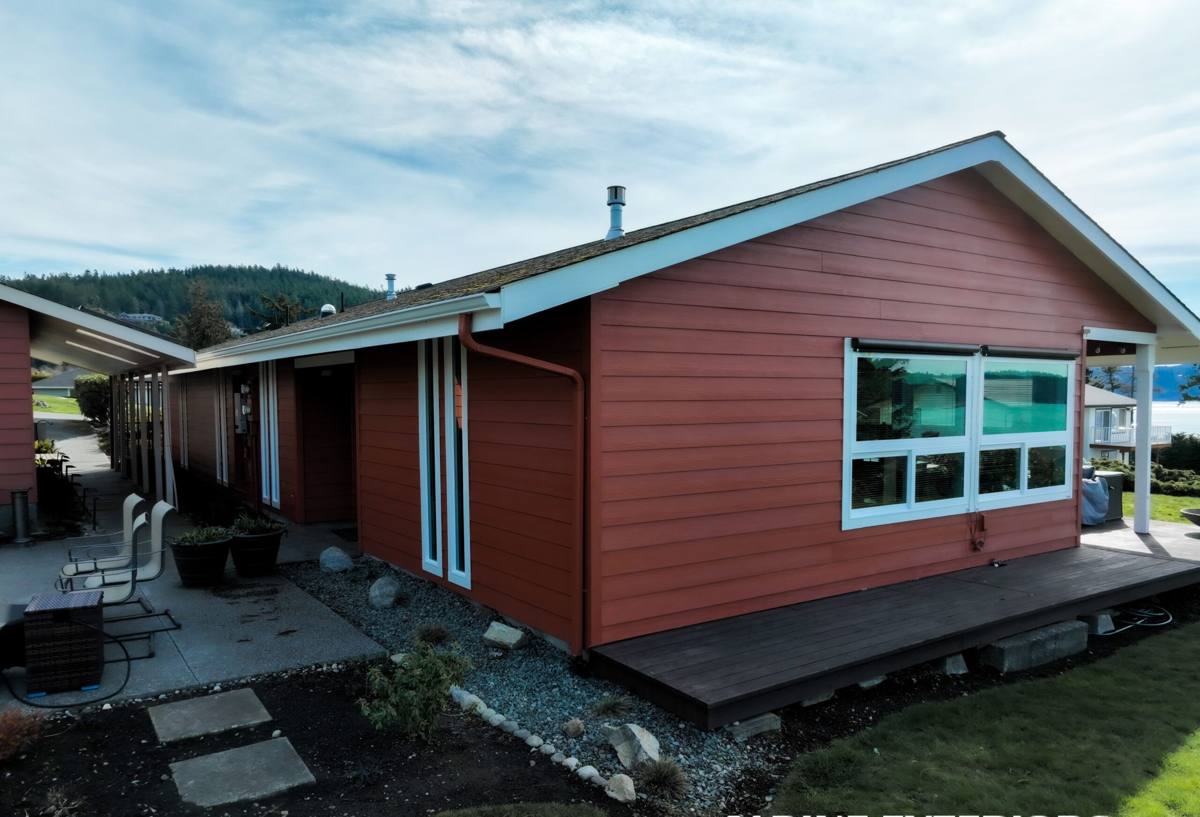
The Housing Stock Behind Most Repair Calls
Capitol Hill's housing mix runs from century-old character homes to mid-century remodels, newer infill construction, and multi-family conversions. That range matters for repair work because each era of construction tends to carry a different siding material, and each material fails in its own way:
- Original wood siding on older homes, often painted over many times, with cupping, checking, or rot at butt joints
- Hardboard or OSB-based siding installed during past remodels, which swells and delaminates once moisture gets behind it
- Vinyl siding added as a low-cost update, which cracks in cold snaps and fades unevenly, making color-matched patches difficult
- Scattered sections of fiber cement from more recent work, which generally holds up but can still fail at poorly sealed joints or damaged corners
A repair crew that hasn't seen this mix before tends to treat every job the same way. That's how small, fixable problems turn into bigger ones — the wrong material gets used to patch the wrong wall, or a hidden moisture issue gets sealed over instead of solved.
Common Failure Points We Find
Across Capitol Hill's older and mixed housing stock, siding damage tends to concentrate in a handful of predictable spots rather than spreading randomly:
- Butt joints and cut ends where factory sealant has dried out and split, letting rain track in
- Areas behind gutters, downspouts, and deck ledger boards, where water sheds directly onto the wall instead of away from it
- Ground-contact splash zones near grade, patios, and walkways, where siding sits closer to standing moisture
- Old caulk joints around window and door trim that have shrunk and cracked with age
- Moss and mildew staining that returns in the same spot season after season — often a sign of a moisture problem underneath, not just a surface stain
Because Capitol Hill sees a long moss season, that last item is worth taking seriously. Recurring growth in one location almost always means water is lingering there longer than it should, and painting or pressure-washing over it only buys a season before it's back.
Signs You Need Siding Repair Soon
- Visible cracking, warping, or buckling in one or two sections rather than the whole wall
- Soft or spongy spots when you press on the siding
- Peeling or bubbling paint concentrated around a specific joint or corner
- Gaps opening up at trim boards or corner posts
- Moss or algae that keeps returning to the same spot despite cleaning
- Staining, bubbling, or a musty smell on interior walls that back up to exterior siding
What a Correct Repair Actually Involves
A siding repair that's done right goes further than removing a damaged board and nailing up a new one. The visible siding is only the outer layer of a system that includes house wrap, flashing, and the sheathing underneath — and in a climate like King County's, any repair that ignores those layers is likely to fail again within a few years.
Correct repair work means:
- Checking the moisture barrier and sheathing behind the damaged area before closing anything up, not just patching over what's visible
- Re-flashing around windows, doors, and penetrations rather than simply re-caulking a failed joint
- Lapping house wrap correctly over flashing so water sheds outward instead of tracking behind the new siding
- Matching the replacement material's thickness, exposure, and profile so the patch doesn't create a new water trap at the seam
- Confirming fastener placement and spacing meet the manufacturer's installation spec, since under- or over-driven fasteners are a common cause of repeat callbacks
Skipping any of these steps might make a wall look fixed for a season, but it doesn't stop the underlying cause — and in a neighborhood that gets this much driving rain, the underlying cause is usually still there.
Repair or Replace? Making the Right Call
Not every damaged section needs full re-siding, and not every repair is worth doing on its own. The right call depends on how much of the wall is affected, how the existing material has held up overall, and whether the sheathing behind it is still sound.
| Factor | Favors Repair | Favors Full Replacement |
|---|---|---|
| Extent of damage | Isolated to one or two sections | Spread across multiple walls or elevations |
| Sheathing condition | Dry, solid when probed | Soft, spongy, or visibly rotted |
| Age of remaining siding | Recently installed, otherwise sound | Original material near or past its service life |
| Material match | Close match available | Discontinued profile, faded color, or obsolete product |
| Repeat failures | First occurrence in this spot | Same area has failed more than once |
When damage is contained and the sheathing underneath tests dry, a targeted repair is the honest recommendation — there's no reason to replace sound siding. When we find rot spreading behind multiple boards, or a home that's on its second or third round of patches in the same spot, we say so plainly and explain why full replacement is the better long-term investment.
Our Repair Process, Start to Finish
Every repair call starts with an inspection, not an estimate written from the sidewalk. That means probing suspect boards, checking moisture readings where damage is visible, and looking at flashing details around windows, doors, and roof-to-wall transitions before anything is removed.
- Inspect the damaged area and surrounding siding, including a moisture check on the sheathing where accessible
- Provide a written scope describing exactly what will be repaired, what materials will be used, and what happens if hidden damage is found once we open the wall
- Remove damaged siding carefully to avoid cracking or dislodging sound material nearby
- Correct any flashing or house wrap issues uncovered during removal — this step is where most "quick patch" jobs cut corners
- Install matching replacement material to the manufacturer's fastening and clearance specifications
- Finish and blend the repair, using factory-matched color where possible
- Clean up the site and haul away all debris
Why We Match Repairs in James Hardie Fiber Cement
When a repair calls for replacement material and an exact match to the existing siding isn't practical or worthwhile, we use James Hardie fiber cement rather than reaching for whatever's fastest — vinyl, LP SmartSide, or primed wood. That's a deliberate standard, not a default. Hardie's ColorPlus finish is baked on at the factory under controlled conditions, which holds up to King County's moisture and moss exposure noticeably better than a field-applied paint job on a patch. It's also non-combustible and engineered in product lines built for wet climates, which matters in a neighborhood where siding rarely gets a real chance to dry out between storms.
On a home with older wood or hardboard siding where an entire elevation is past patching, we'll often recommend transitioning that section to Hardie rather than continuing to chase a failing legacy material with more repairs. It's a more honest use of the homeowner's money than a fourth or fifth round of patchwork on siding that's simply reached the end of its service life.
Why Local Experience in Capitol Hill Matters
Capitol Hill's tight lots and close-set homes change how a repair actually gets done. Staging, ladder placement, and material access all take more planning on a narrow urban lot than on a spread-out suburban property, and a crew unfamiliar with that layout tends to move slower and take more shortcuts to compensate.
Age and construction history matter just as much. Homes here often carry additions built decades apart, which means siding transitions between original construction and remodeled sections are common — and each transition is a place where two different materials, installed at two different times, can move differently and open a gap. A crew that has worked through this neighborhood's mix of century-old homes, mid-century additions, and newer infill recognizes these transition points quickly instead of discovering them mid-job. That local familiarity, combined with knowing how long King County's wet season really runs, is what keeps a repair from becoming a return visit.
If you're seeing damage, staining, or repeat moss growth on your siding, we're happy to take a look and give you a straight answer on whether it's a repair or something more. Reach out for a free, no-pressure estimate — there's a form below to get started.