 King County
 New-Construction Windows in Kirkland: Getting the Install Right the First Time
When we talk about "new-construction" windows, we mean something specific: windows installed with a nailing fin directly into the framed rough opening, as part of a new build, an addition, or a full siding tear-off where the wall is opened down to the studs. That's different from a pocket replacement window, which slides into an existing frame without disturbing the siding around it. New-construction installs give a crew full access to the sheathing, the weather-resistive barrier, and the framing — which means there's no excuse for a sloppy job. Done right, it's the strongest, most weathertight way to put a window in a wall. Done wrong, it's the single most common source of hidden water damage we find in King County homes.
For a Kirkland project, that distinction matters more than most homeowners realize. This page walks through what a correct new-construction window install actually involves, what the Eastside climate demands from that install, and how our process is built around getting it right the first time.
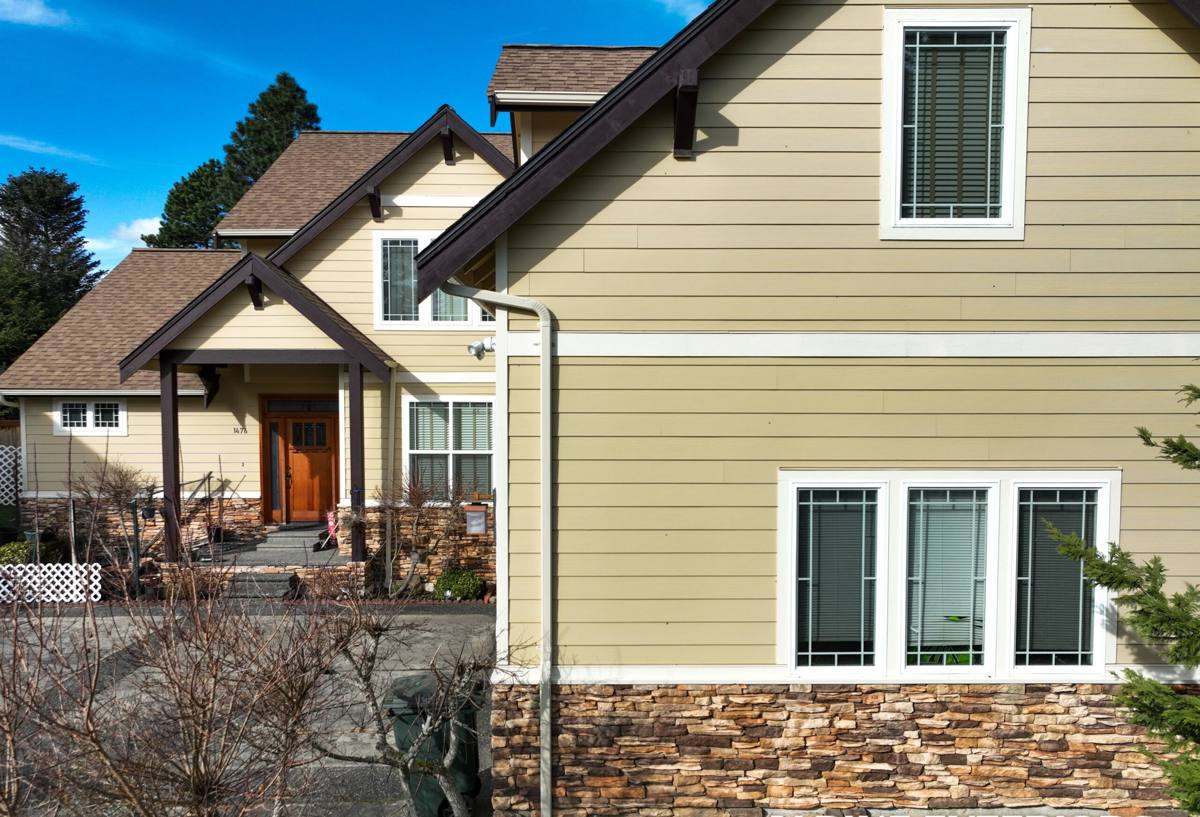
Why Kirkland's Climate Puts Extra Demand on a Window Install
Kirkland sits in the Puget Sound lowlands, and the same marine-influenced weather pattern that soaks the rest of King County — driving rain that comes in sideways during fall and winter storms, long stretches of damp, low-light days, and a moss season that can run from October well into spring — doesn't skip the Eastside. Moist air moving off Puget Sound settles into the region for months at a time, and anything with a flaw in its water management eventually shows it, whether that's staining below a window sill, soft trim, or moss creeping across a north-facing wall.
A new-construction window opening is a hole cut into your home's water management system. The window itself is only as good as the flashing and drainage details around it. In a drier climate, a mediocre flashing job might go a decade without causing visible problems. In Kirkland's rain load, gaps in that system tend to show up in years, not decades — usually as damage you can't see until you open the wall back up.
What a Correct New-Construction Window Install Involves
There's a right order of operations for integrating a window into a wall, and skipping steps is exactly how leaks get built into a house on day one. A proper install includes:
- A sloped sill pan at the rough opening, so any water that does get past the window has somewhere to go besides your framing.
- Correct shingle-lap sequencing of flashing tape and building paper or housewrap — sill first, then jambs, then head — so water is always directed outward and downward, never trapped behind a layer above it.
- Proper integration with the weather-resistive barrier (WRB), with head flashing lapped under the WRB above the window, not just taped over the top of it.
- Backer rod and quality exterior sealant
- Proper shimming and fastening so the window sits square and true in the opening, without racking the frame, which can cause the sash to bind or fail to seal over time.
- Insulation of the gap between the rough opening and the window frame with a low-expansion foam or backer rod, so there's no thermal gap or air leak once trim goes back on.
Every one of these steps is normal, well-documented trade practice — there's no shortcut version that also holds up in this climate. The failures we see almost always trace back to one of these steps being skipped or done out of order, not to a bad window product.
Choosing a Window for a Kirkland New-Construction Project
The frame material matters less than the install quality, but it still matters. Here's how the common options compare for a Puget Sound climate:
| Frame Material | Moisture Performance | Maintenance | Typical Fit |
|---|---|---|---|
| Vinyl | Good — won't rot, handles humidity well | Low; occasional cleaning | Most new builds and additions; strong value |
| Fiberglass | Very good — dimensionally stable in temperature and moisture swings | Low | Larger openings, higher-end new construction |
| Wood-clad | Good on the exterior clad face; interior wood needs protection from condensation | Higher; interior finish upkeep | Homes prioritizing an interior wood look |
| Aluminum | Prone to condensation without a thermal break; can transmit cold | Moderate | Limited use in residential new construction here |
We'll talk through frame material, glazing package, and performance ratings for your specific project, but we're always upfront that no window frame material compensates for a poor flashing job. We'd rather install a mid-range vinyl window correctly than a premium window with shortcuts in the wall prep.
Our New-Construction Window Process
1. Rough Opening Check
Before any window goes in, we verify the rough opening is square, plumb, and sized correctly, with sound sheathing around it. Framing errors caught here are cheap to fix; caught after trim-out, they're not.
2. Sill Pan and Flashing Installation
We build the sloped sill pan and run flashing tape in the correct shingle-lap sequence before the window ever touches the opening. This is the step that determines whether the install survives its first real Kirkland winter.
3. Window Set and Fastening
The window is set, shimmed level and square, and fastened per the manufacturer's schedule — not just wherever the fin happens to line up. Over- or under-shimming is a common cause of premature seal failure and hard-to-operate sashes.
4. Head Flashing and WRB Integration
Head flashing goes in and gets properly lapped under the housewrap above, completing the drainage plane so water sheds past the window, not into the wall.
5. Insulation and Air Sealing
We fill the gap between frame and rough opening with a low-expansion foam sealant, avoiding the common mistake of over-filling with high-expansion foam, which can bow window frames and cause binding.
6. Exterior Trim and Sealant
Trim goes on, joints get backer rod and sealant where called for, and everything is inspected against the flashing plan before we consider the opening closed up.
Mistakes We Routinely See — and Won't Repeat
Most of the window-related water damage we're called out to inspect in King County didn't come from a bad window. It came from an install shortcut. The most common ones:
- Caulk used as a substitute for proper flashing sequencing, rather than as a secondary seal.
- Housewrap taped over the top of head flashing instead of lapped correctly underneath it.
- No sill pan, so any water that gets past the window sits directly on bare framing.
- Over-shimming or racking the frame, which stresses the seals and can cause long-term operational problems.
- High-expansion foam used around the frame, which can bow it and cause the window to bind or fail to close fully.
None of these are exotic problems. They're all avoidable with a crew that follows the sequence every time, on every opening, regardless of how many windows are on the schedule that day.
A Practical Checklist for Vetting a New-Construction Window Installer
Whether you're a homeowner working with a builder or managing your own remodel, these are fair questions to ask before an installer touches a rough opening:
- Do you install a sloped sill pan on every opening, not just on request?
- Can you describe your flashing lap sequence — sill, jamb, head — without hesitation?
- How do you integrate flashing with the weather-resistive barrier above the window?
- What type of foam or insulation do you use around the frame, and why?
- Do you warranty the installation itself, separate from the manufacturer's product warranty?
- Have you installed windows on other Kirkland or Eastside projects recently?
If an installer can't answer the flashing sequence question specifically, that's worth pausing on — it's the single detail that determines whether the install holds up through a wet Puget Sound winter.
Why It Helps to Hire a Crew That Already Works in Kirkland
Building codes, typical framing conditions, and inspection expectations shift block to block and jurisdiction to jurisdiction across King County. A crew that regularly works Kirkland new-construction and remodel projects already knows what inspectors here are looking for at rough-in and final, what framing quirks show up in homes of different eras across the city, and how the local rain and moss cycle actually behaves against a wall over a full year — not just on install day. That familiarity shows up in fewer surprises, fewer callbacks, and an install that's built for the climate it actually has to survive, rather than a generic best-practice checklist applied without local context.
Get a Free, No-Pressure Estimate
If you're planning new-construction windows for a build, addition, or full remodel in Kirkland, we're happy to walk the project, talk through window options and flashing details specific to your framing, and give you a straightforward estimate — no pressure, no upsell. Use the form below to get started.